Connecting and Using Microphones
This guide explains how to set up and use microphones in Mackey Hall with the wall touchscreen audio controls.
Before You Start
- Make sure the sound system is on. If needed, see Turning the Sound System On.
- Open the wall touchscreen audio controls and select the correct preset. If needed, see Using Wall Audio Controls.
- Use
Pulpit Wired Micsfor pulpit channelsPulpit 1andPulpit 2. - Use
Wireless MicsforWireless 1,Wireless 2, andLapel.
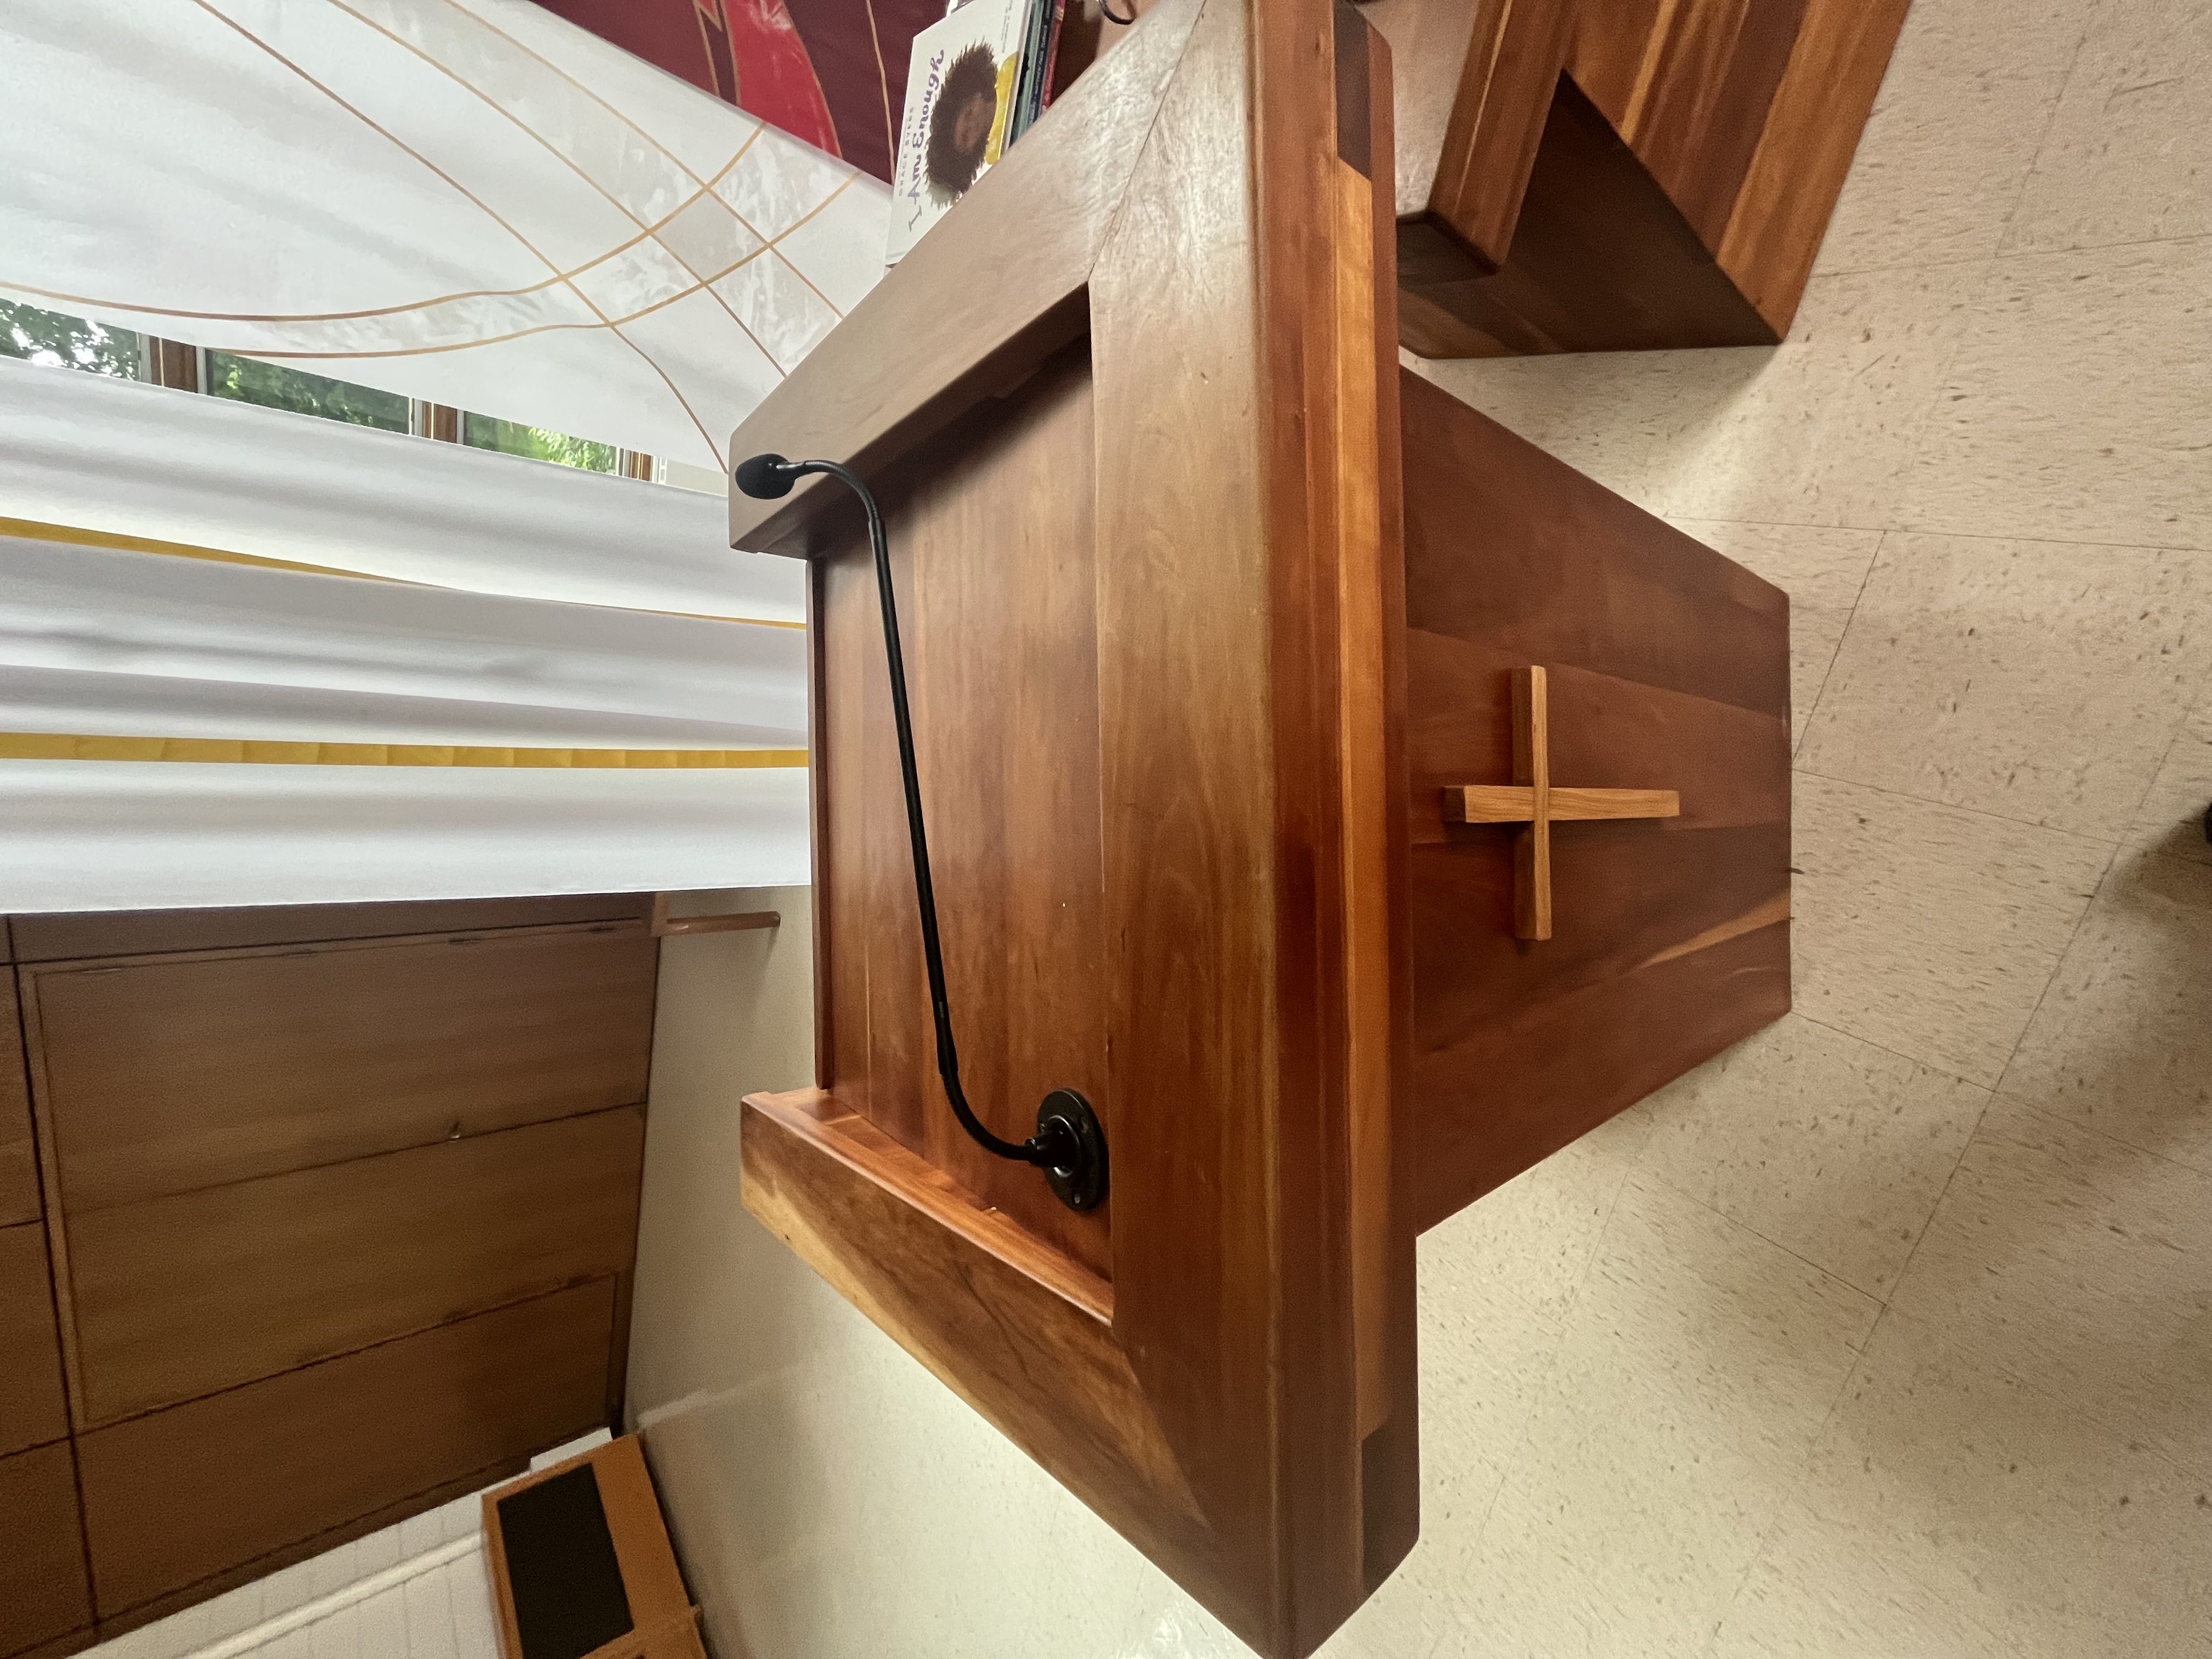
Pulpit Microphone
- Locate the pulpit microphone and cable, if not already plugged in.
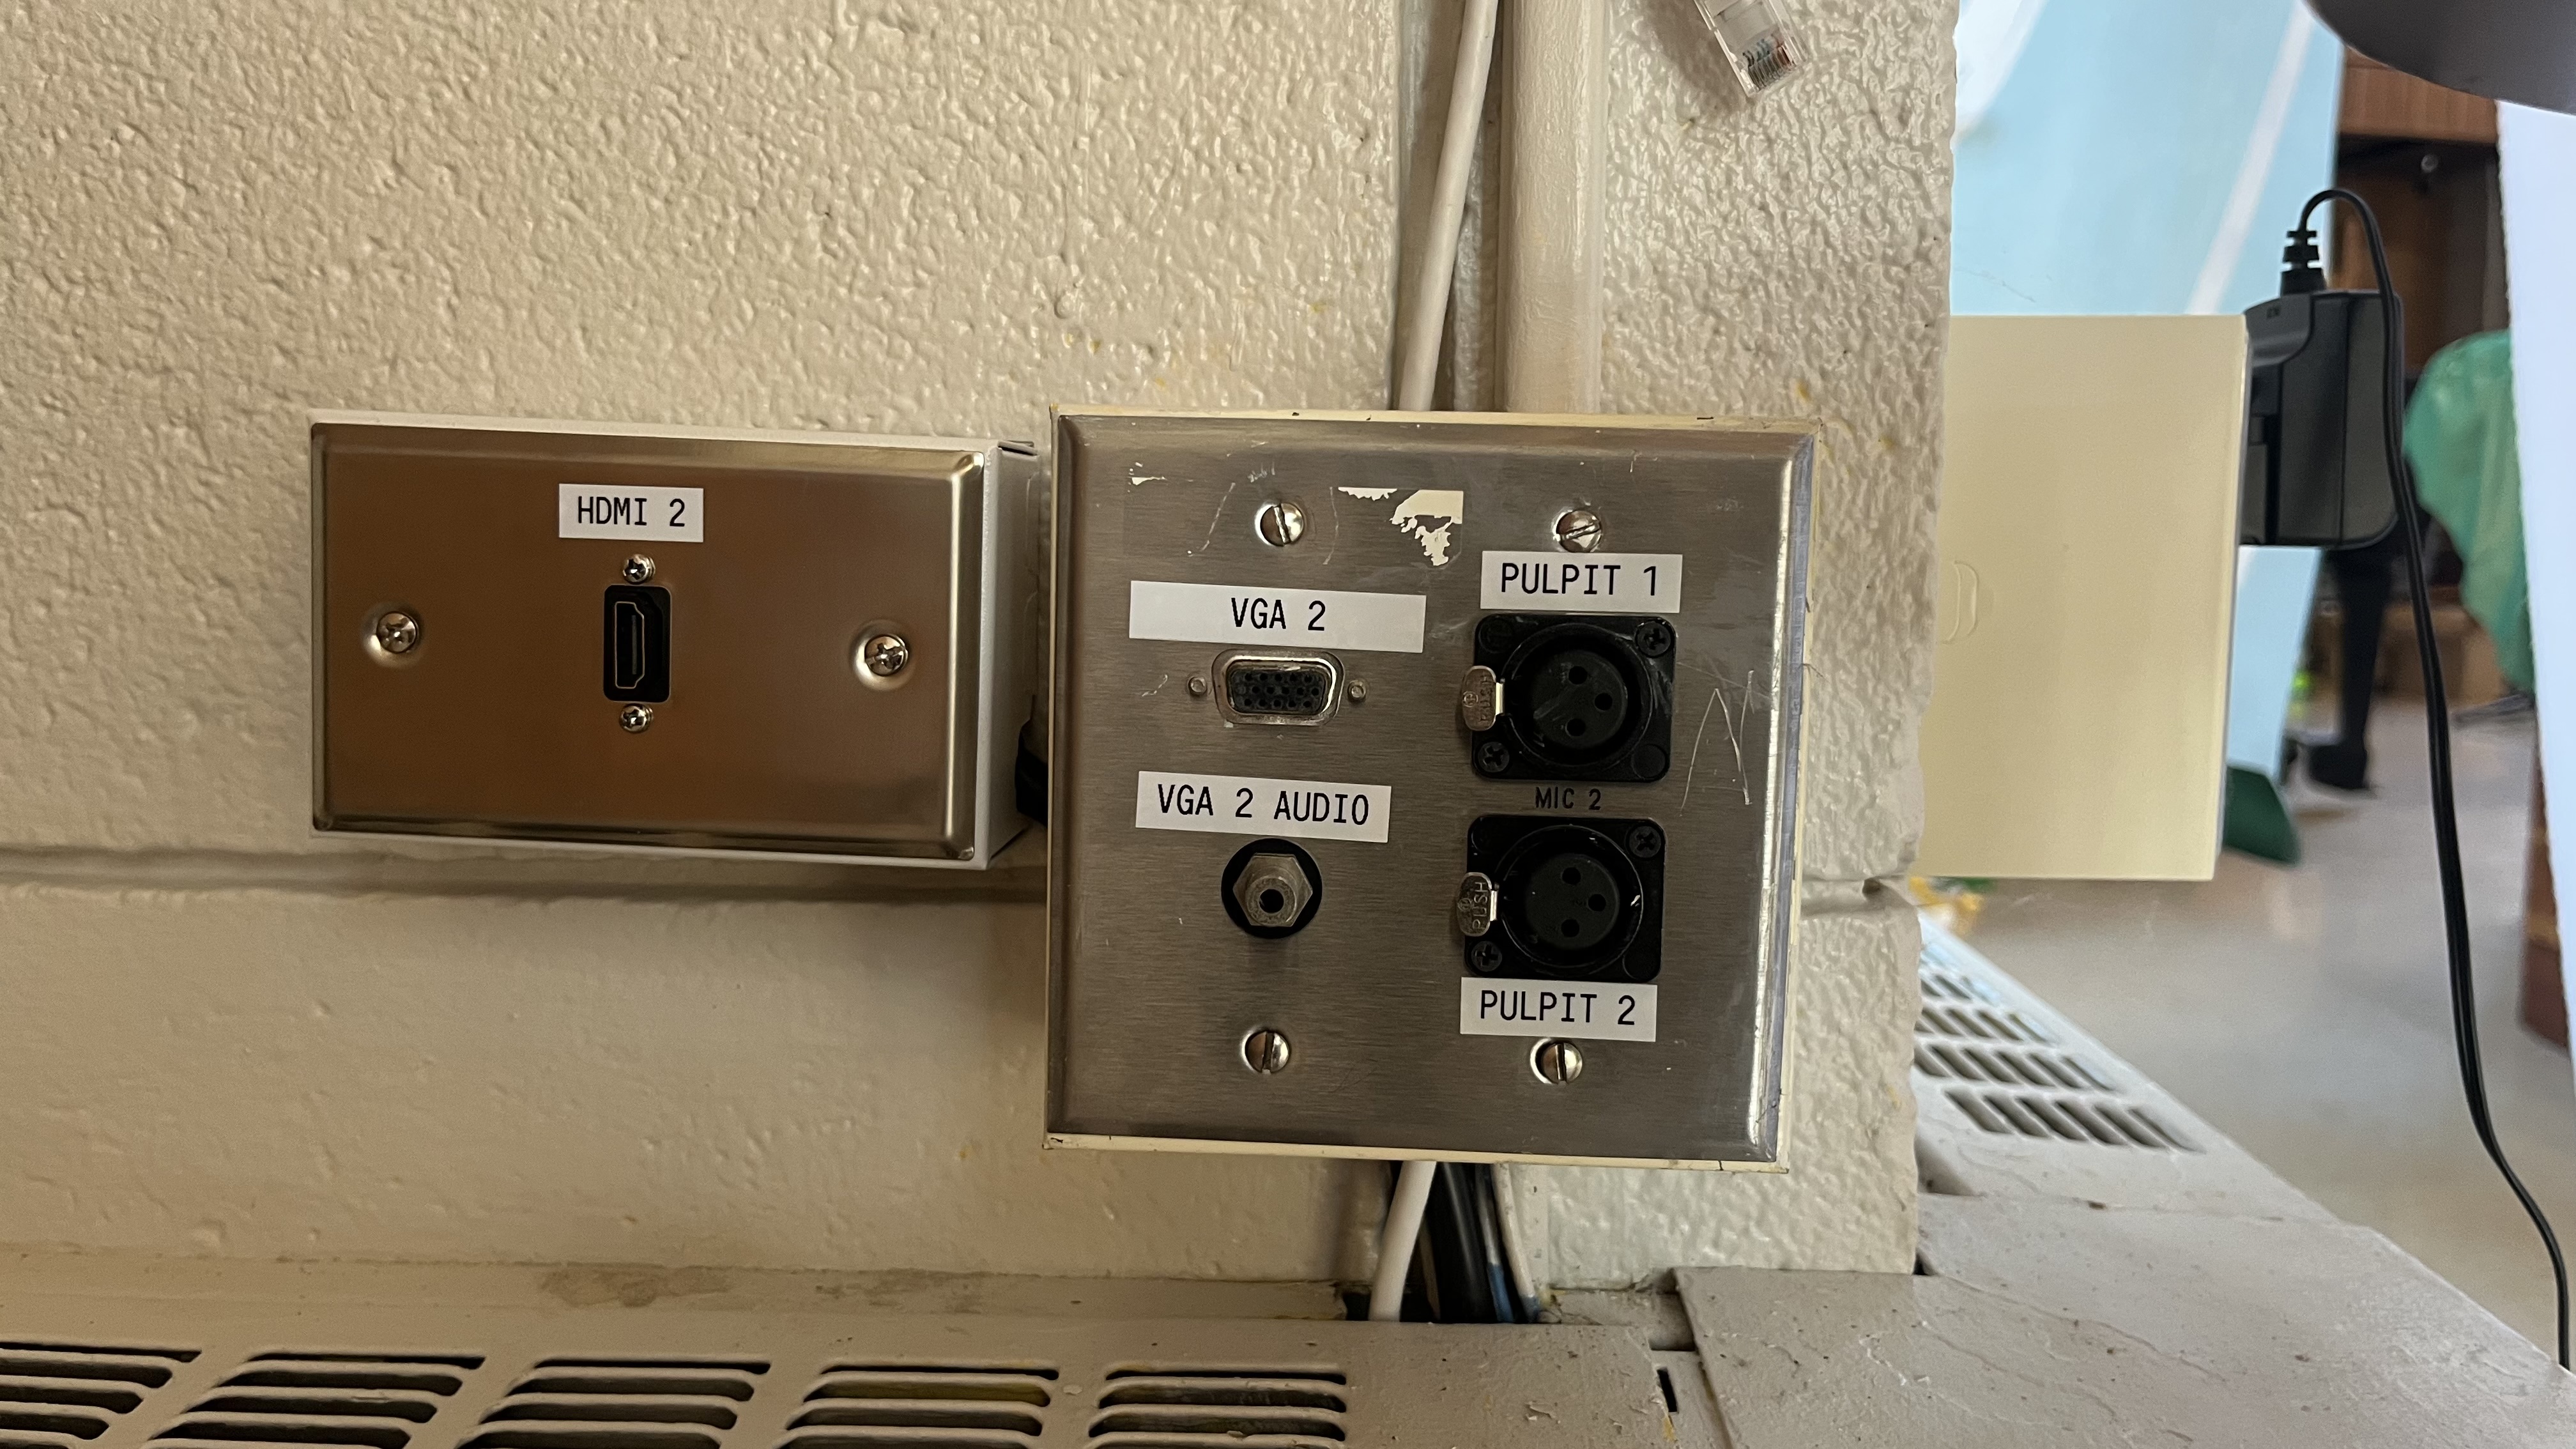
- Plug the microphone into
Pulpit 1orPulpit 2. - On the wall controls, open
Pulpit Wired Mics. - If the selected pulpit channel shows
Mutedin red, press it once to unmute. - Set level with
+1%,-1%, or the slider.
Lapel Microphone (Wireless)
- Locate the lapel bodypack and lapel mic (kept in the pulpit when not in use).
- Power: move the top power switch to
on. - Clip the lapel mic and begin speaking.
- On the wall controls, open
Wireless Micsand use channelLapel. - If channel
LapelshowsMutedin red, press it once to unmute. - Set level with
+1%,-1%, or the slider.
Lapel Reference Images
Lapel Microphone Bodypack 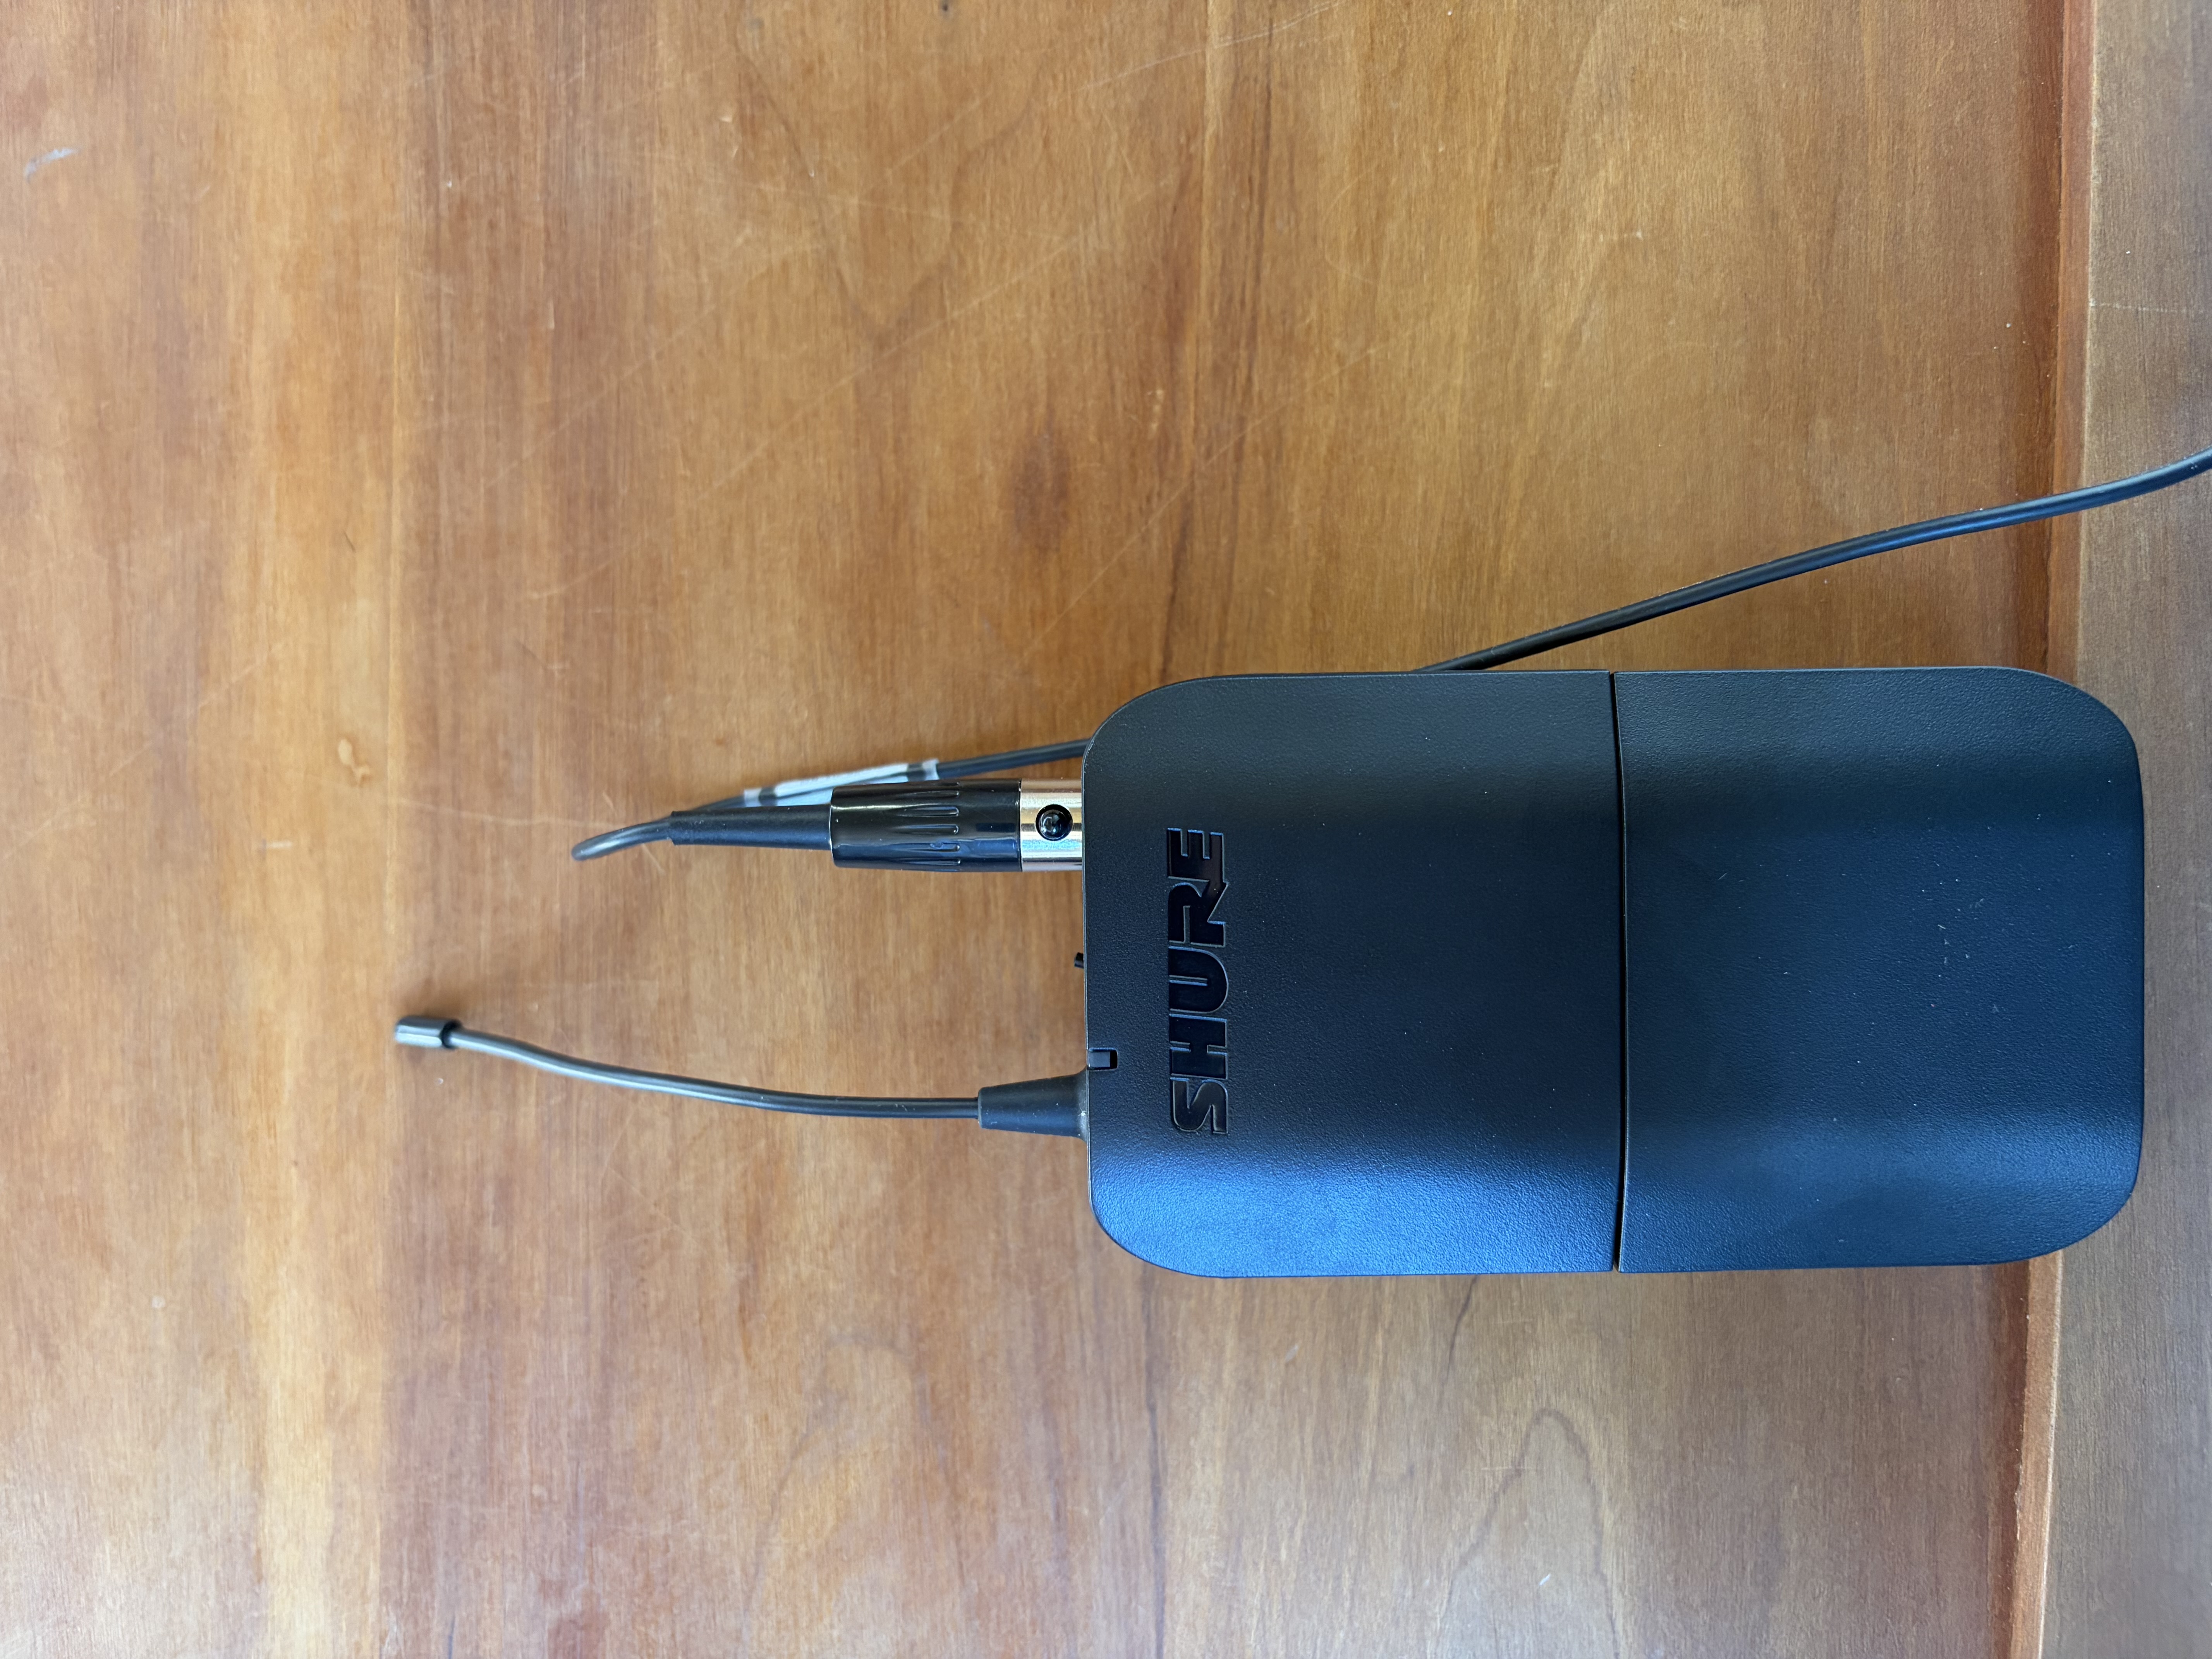
Lapel Power On/Off Switch 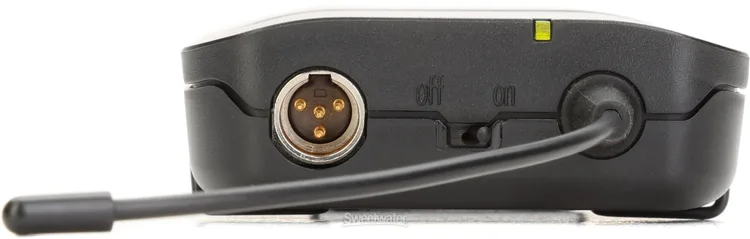
Handheld Wireless Microphones
Wireless 1 (Handheld 1)
- Locate
Handheld 1(kept in the pulpit when not in use). - Power: short-press
ON/OFFto turn on; press and holdON/OFFto turn off. - Mute: use the handheld mute switch to mute or unmute the mic.
- On the wall controls, open
Wireless Micsand use channelWireless 1. - If channel
Wireless 1showsMutedin red, press it once to unmute. - Set level with
+1%,-1%, or the slider.
Wireless 1 Reference Images
Wireless 1 Microphone Body 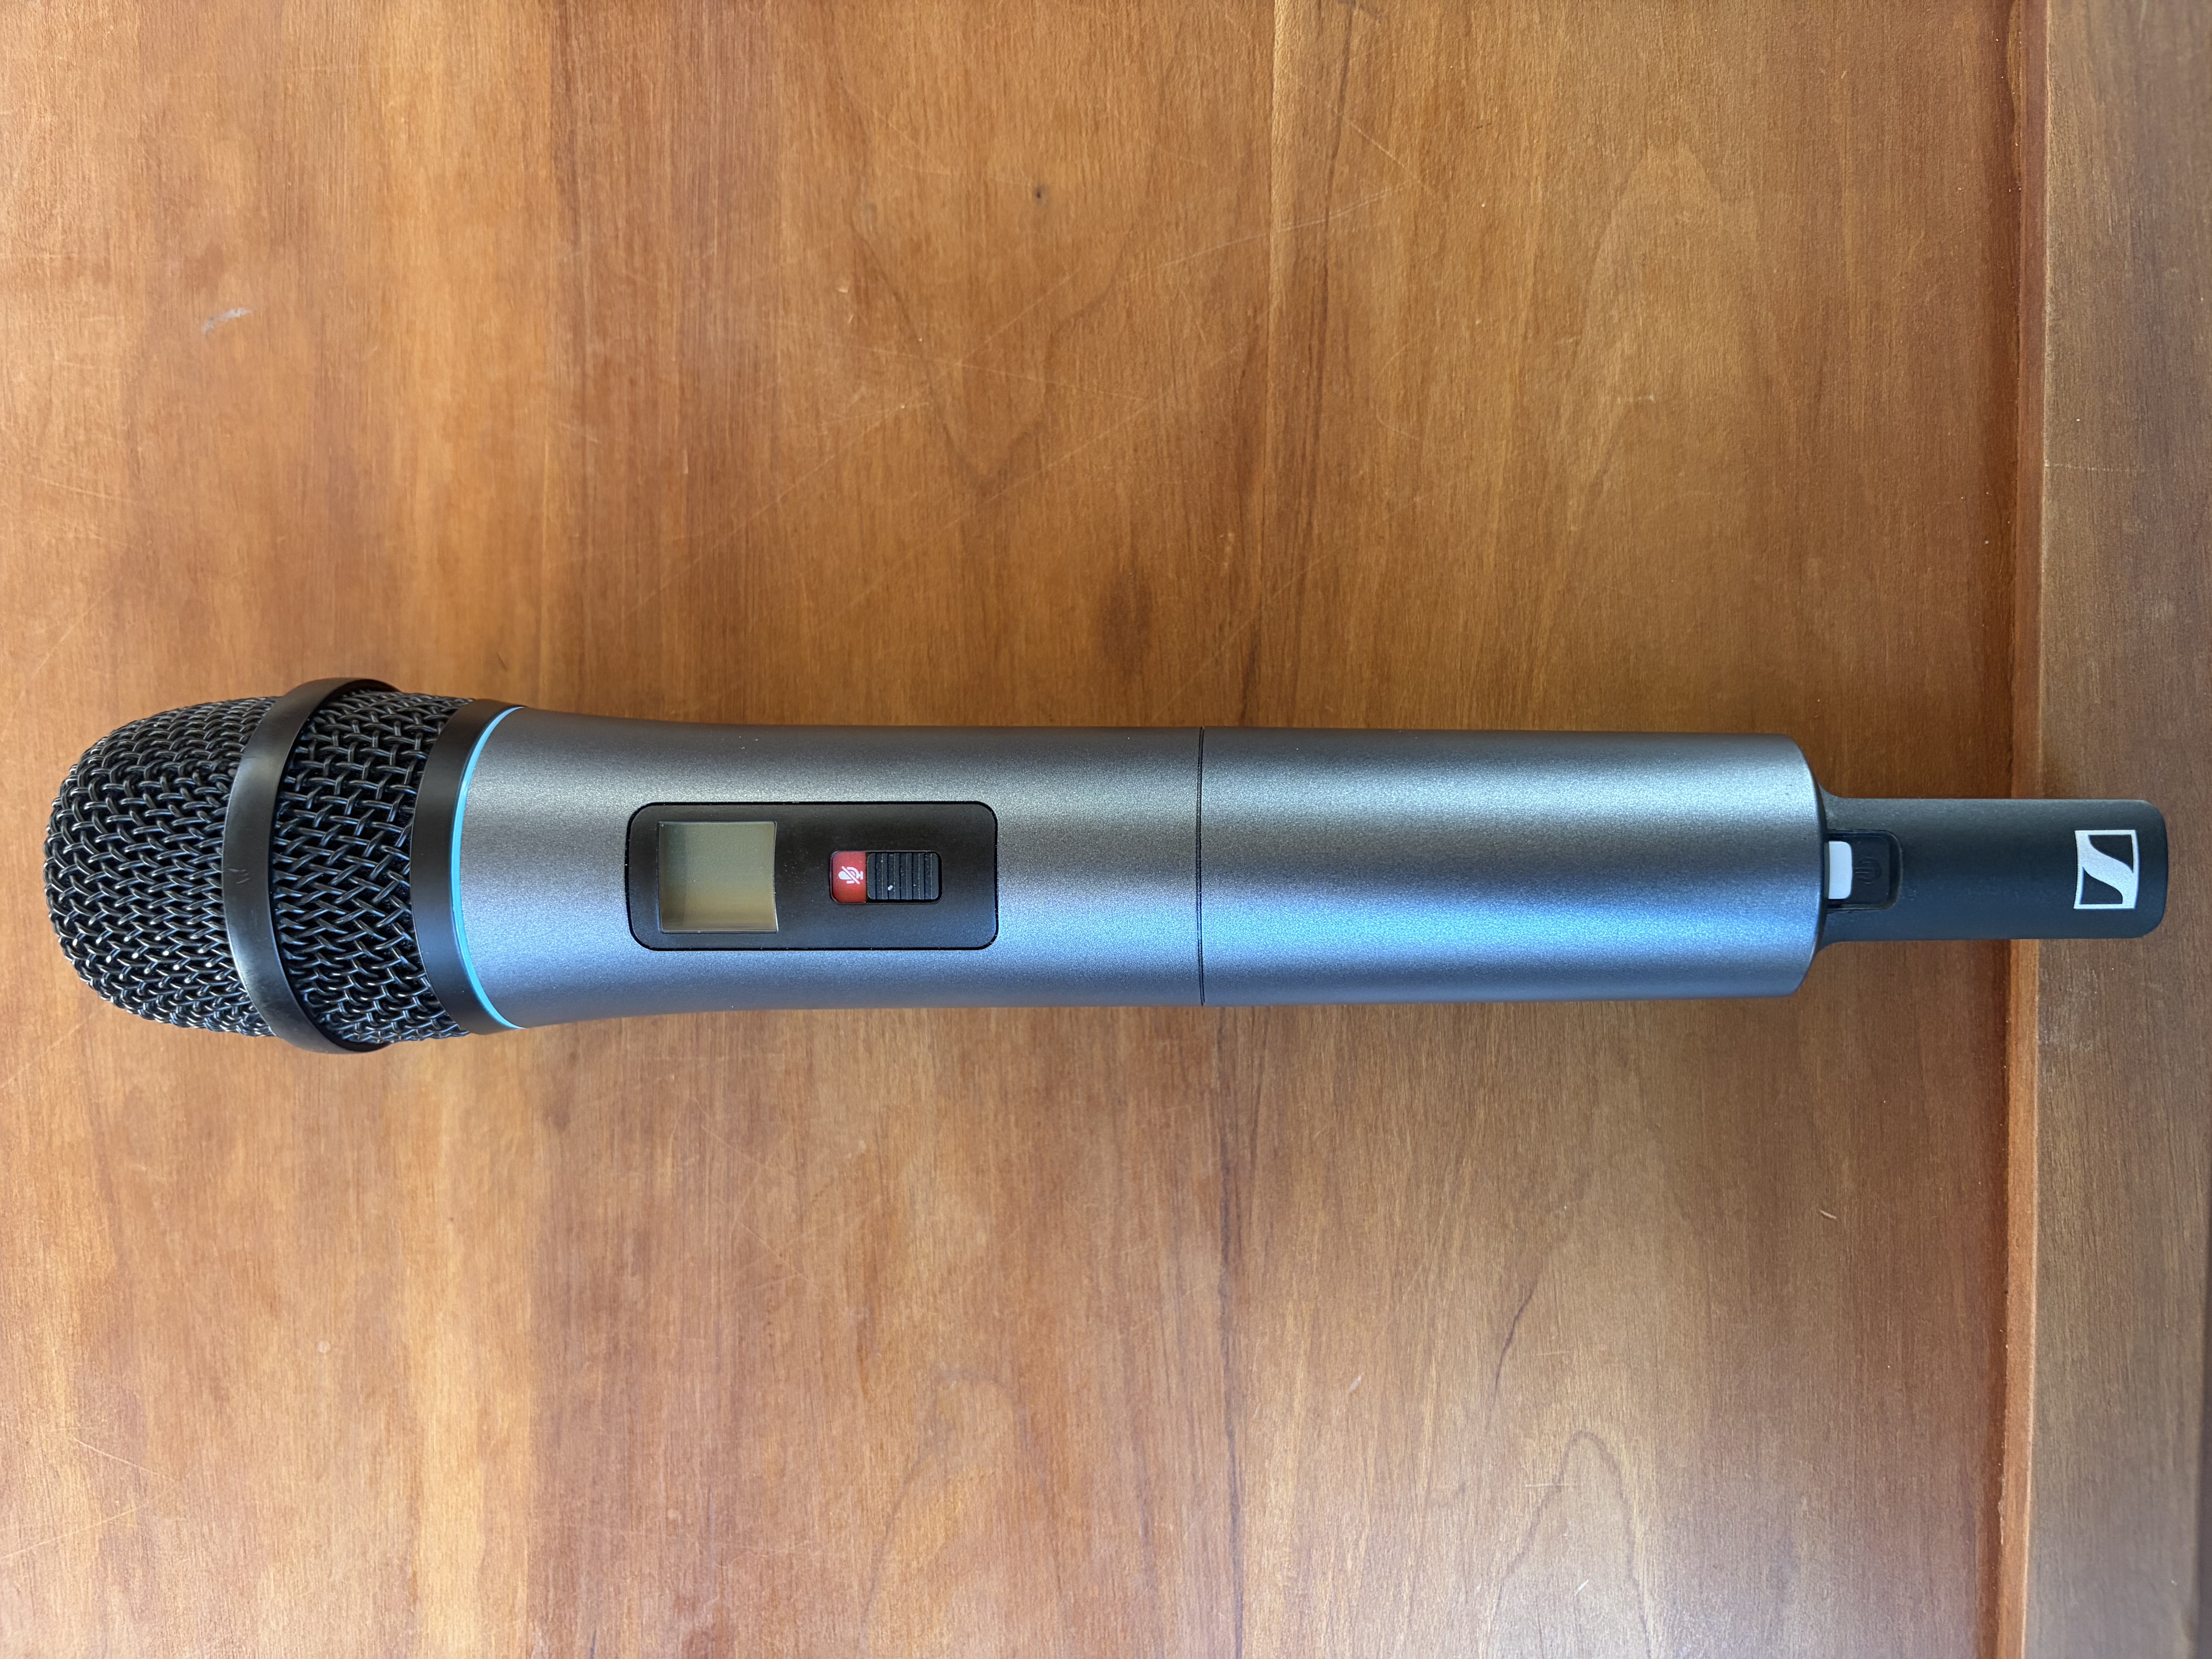
Wireless 1 Power Indicator 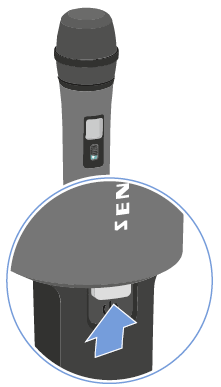
Wireless 1 ON/OFF Button 
Wireless 1 Mute/Unmute Switch 
Wireless 2 (Handheld 2)
- Locate
Handheld 2(kept in the pulpit when not in use). - Power: slide the switch to turn the microphone on or off.
- On the wall controls, open
Wireless Micsand use channelWireless 2. - If channel
Wireless 2showsMutedin red, press it once to unmute. - Set level with
+1%,-1%, or the slider.
Wireless 2 Reference Images
Wireless 2 Microphone Body 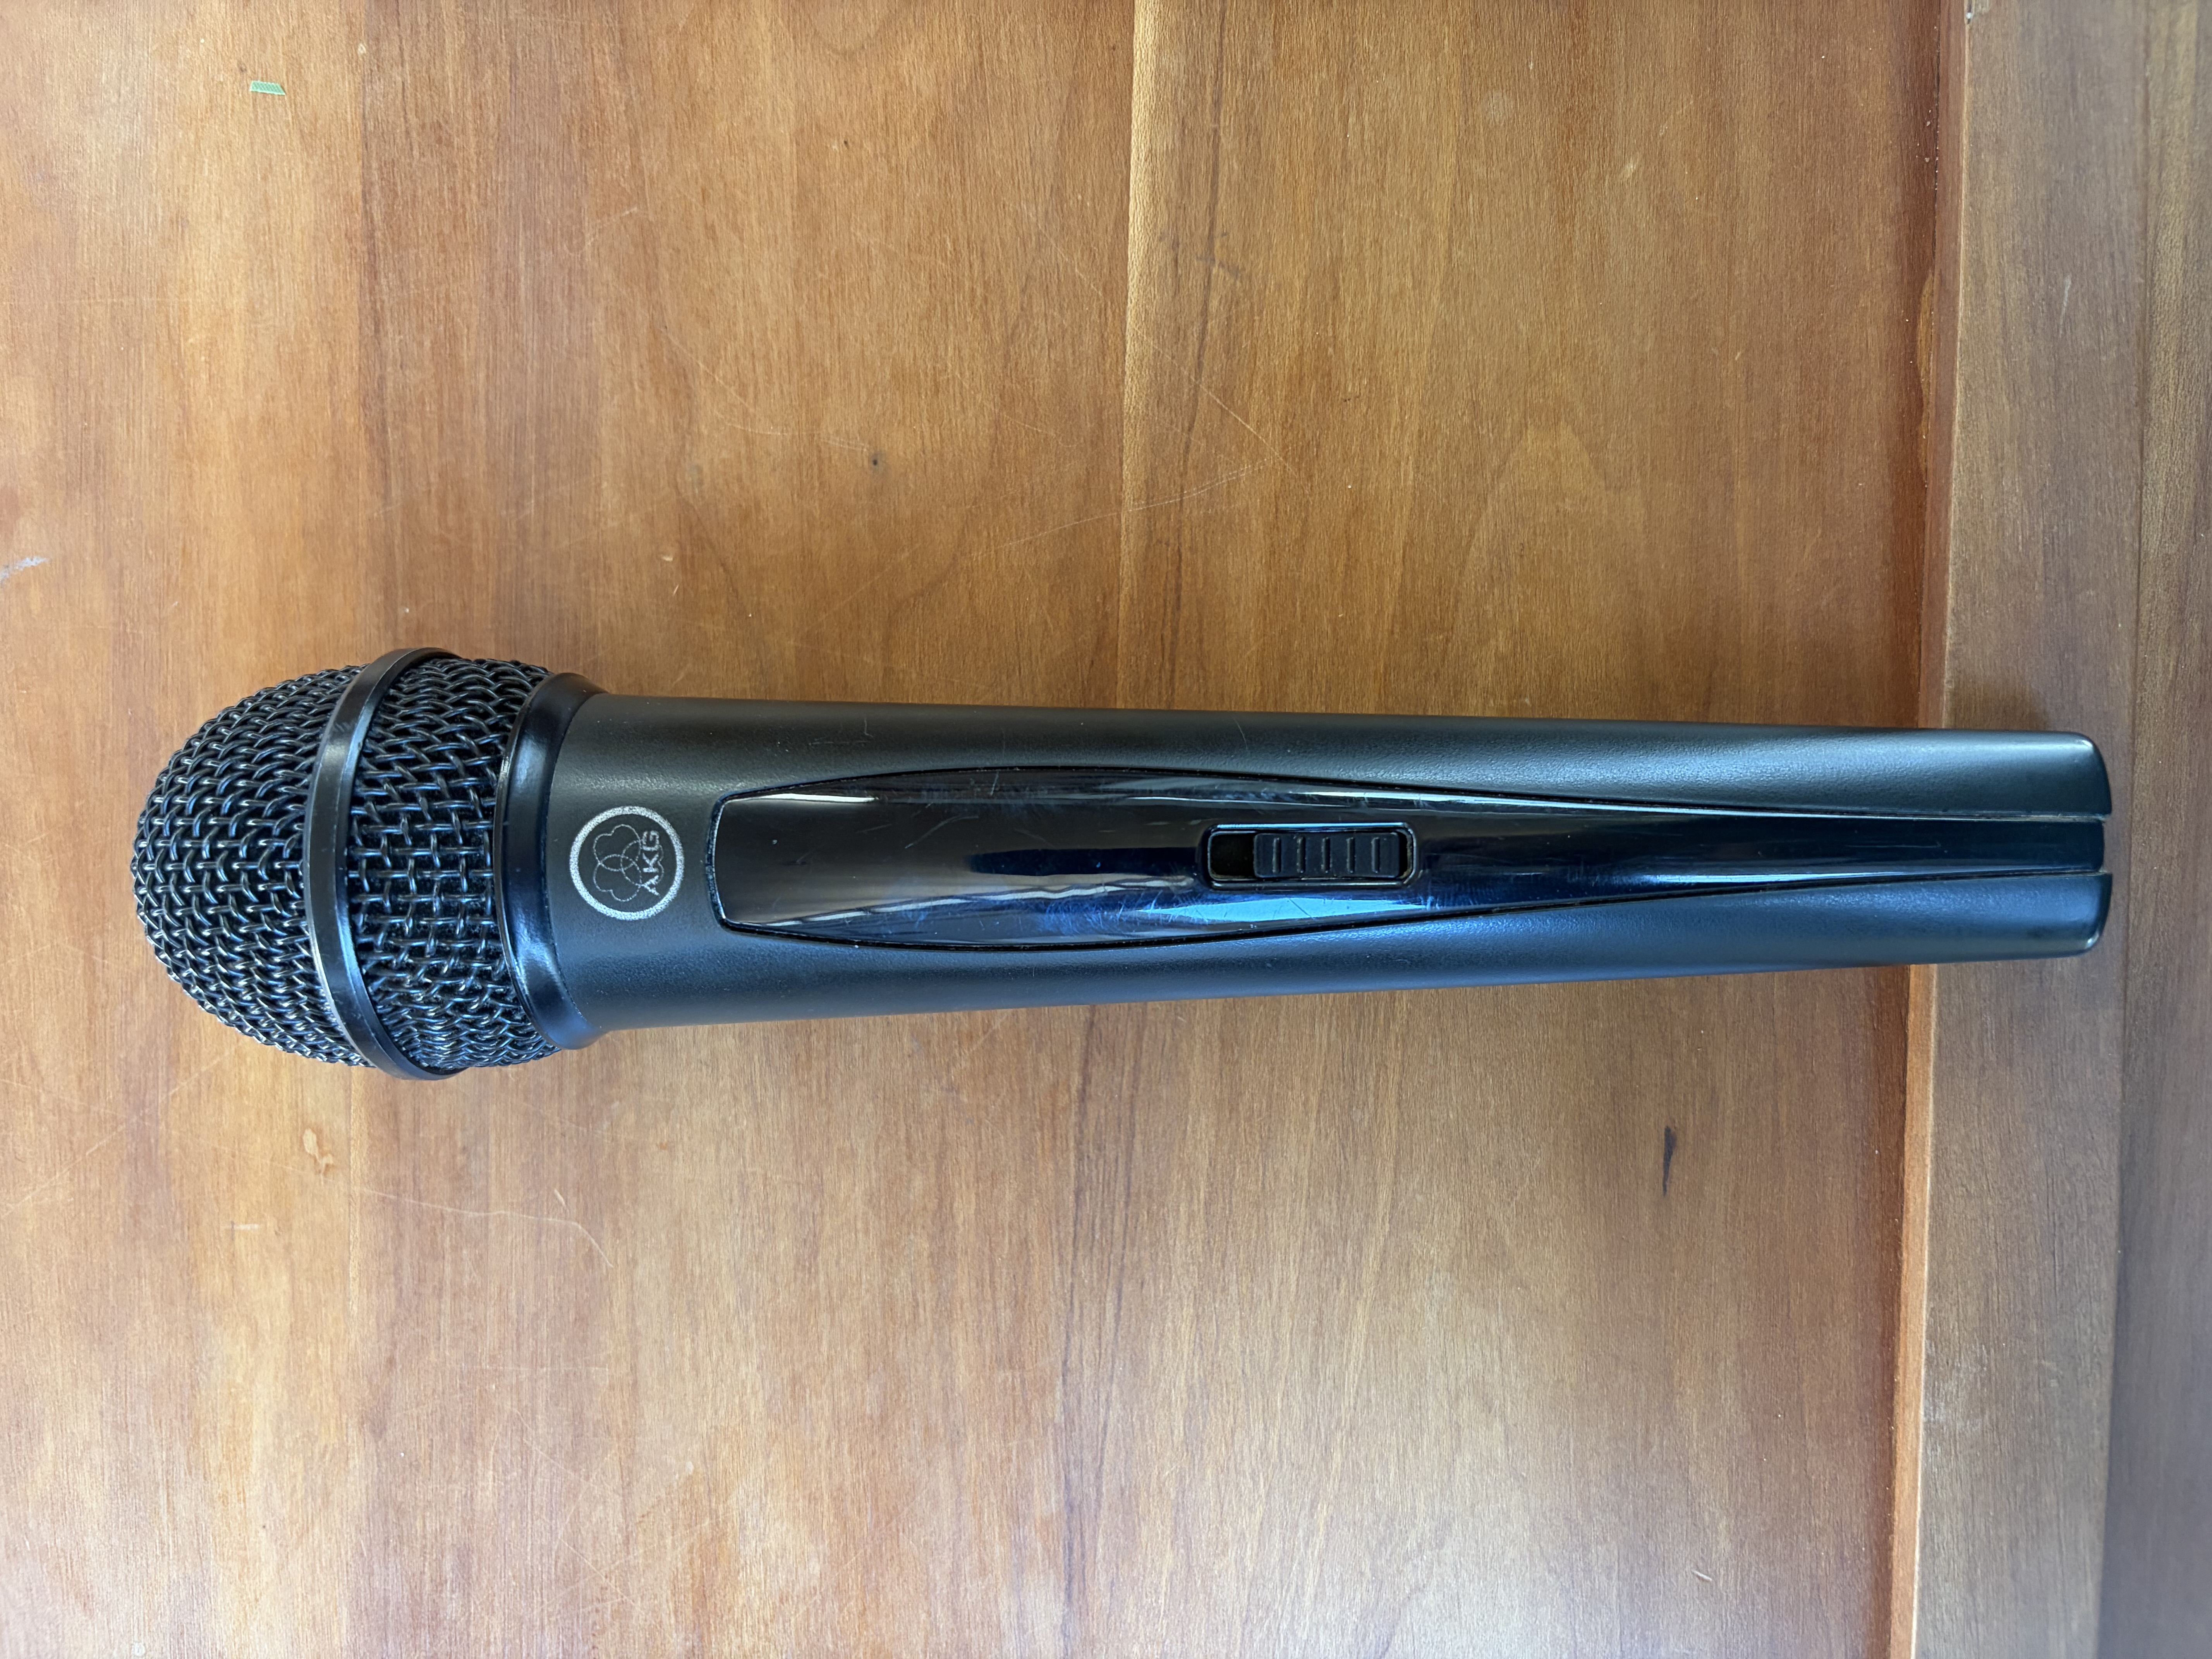
Mute and Level Notes
- A red
Mutedbutton on the wall controls means that channel is muted. - Press
Mutedonce to unmute. - Use
Defaultto return a channel to its normal level. - You can press and hold
+1%or-1%for faster continuous changes. - Start with lower levels, speak into the microphone, then raise gradually.
- If a wireless mic has no audio, check battery level and power switch position.